Sunny-16 RUle
The Sunny-16 rule has roots going clear back to at least the 1920s if not earlier. Today, many people find the rule to be outdated. After all, nearly all cameras built from the 1960s forward had some sort of light meter built in. Standalone handheld meters also exists and there are even light meter apps that you can get for your phone.
So why are we taking the time to learn it?
Because it just works. This is handy because we have students with many different types of cameras and meter modes With the Sunny-16 rule, kids can get out and start getting properly exposed photos in minutes, rather than needing individualized lessons on their meters.
When learning about equivalent exposures and manual camera operation the Sunny-16 rule is very simple to learn and get approximately the correct exposure to start.
The rule starts simple. Your shutter speed should be 1/ISO. From there, you can go outside and just look at the weather conditions or shadows to set your aperture. Use the following table:
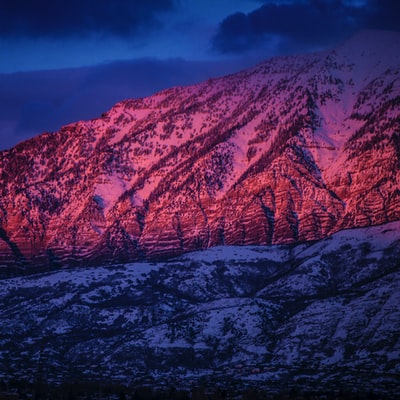
f/22 – snow or sand
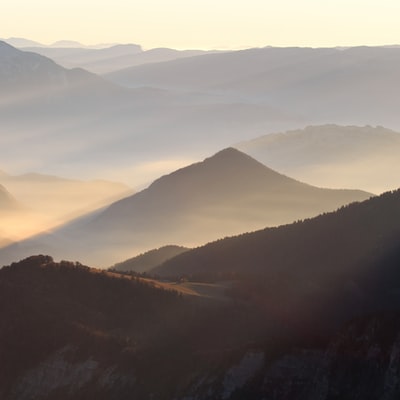
f/16 – bright sun
f/11 – slight overcast
f/8 – overcast
f5/6 – dark overcast (no shadows on the ground)
f/4 – open shade/dusk
If you’re back-lighting, just add one stop.
Example: If I am shooting at 200 ISO on a cloudless afternoon in the middle of a grassy field, your settings would be 200 ISO, 1/200th shutter speed, and f/16.


example
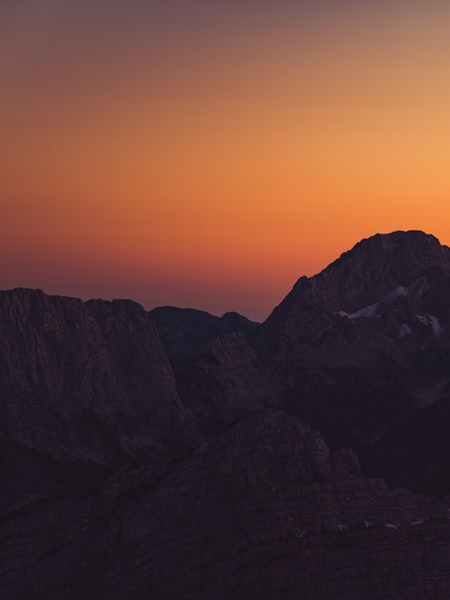
I want to take a photo, on the beach, at sunset, with my subject backlit. I have my ISO set to 400.
ISO = 400
Shutter speed = 1/ISO or 1/400
Aperture = f/2.8 (adding a stop for the backlighting)
From here, I can change my ISO, aperture, or shutter speed to match my creative needs
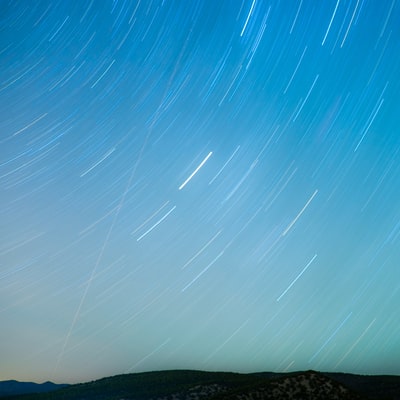
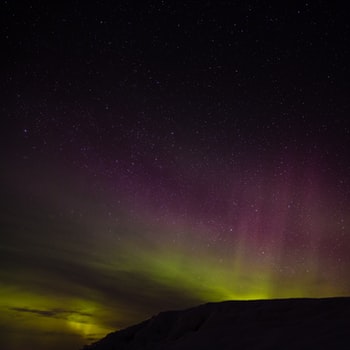
Moony-11
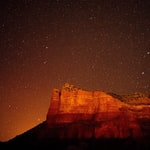
Many people are curious how to take good photos of the moon. Modern cameras frequently have trouble with the moon because of how bright it can be against such a dark background.
Moony-11 is the solution to that!
Like with Sunny-16, Moony 11 is when your shutter speed is 1/ISO, then:
f/11 – full moon
f/8 – half moon
f/5.6 – quarter moon
f/4 – eighth moon